Clever Use of Lens Distortion
Lens distortion is actually caused by optical effect of lens. Barrel distortion is common at the wide-angle lens and pincushion distortion occurs at telephoto lens. What is the specific situation? How to avoid these distortions during shooting? Are there any shooting techniques for these distortions? Let’s discuss briefly
Barrel Distortion and Pinchshion Distortion
If the photo appears barrel-shaped distortion, the image point will shift as the distance from the center point increases, causing the “straight line” in the image to bend outward, and the two ends to bend toward the center, turning into a “curve”. Therefore, the image of a square object will shrink inward at the four corners, while the middle section of the sideline will bulge outward, like a wooden barrel. The name “barrel distortion” is therefore named. Generally, as the angle of view of the lens expands (that is, a wider angle or a shorter focal length, such as a 10mm focal length), the barrel distortion becomes more and more serious. The pincushion distortion is just the opposite. The picture will shrink to the center, which is common at the telephoto end (such as the 250mm focal length).
Examples of Lens Distortion Application
Pincushion distortion is rarely used, but the application level of barrel distortion is relatively popular. The reason is that barrel distortion can often bring out exaggerated and interesting effects. Please take a look at the following usage.
Big Head Dog Effect
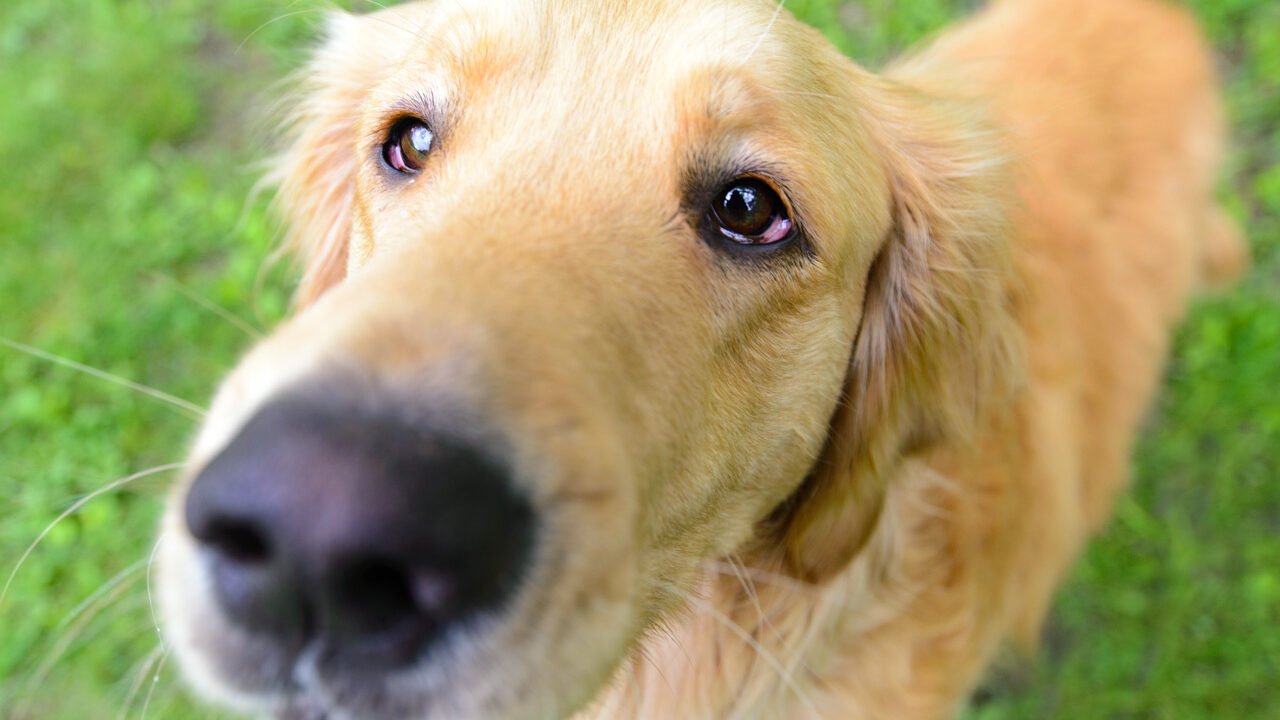
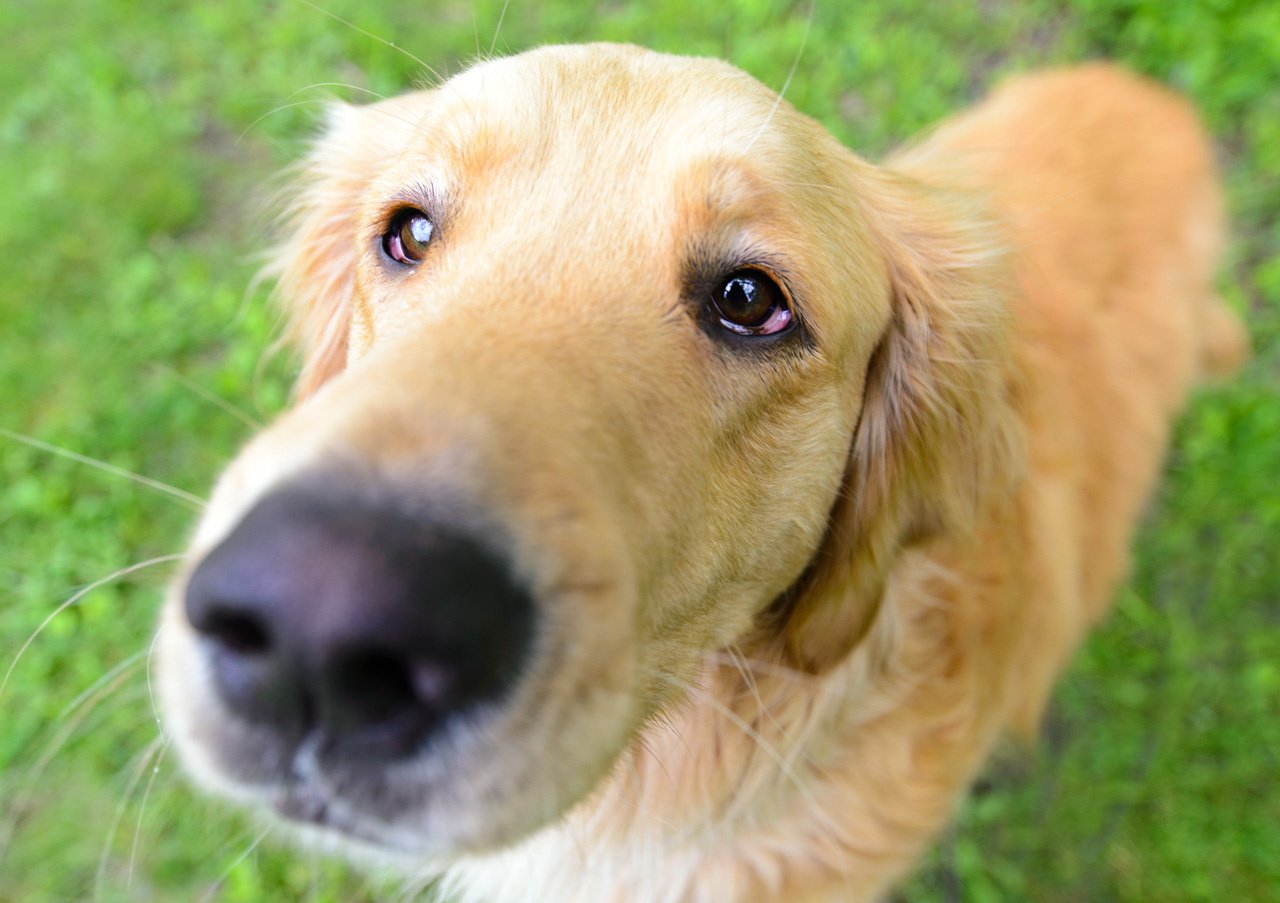
The previous smash hit “big head dog” is actually one of the examples of barrel distortion. When shooting “big head dog” photos, it is best to use fisheye lens (an ultra-wide-angle lens with a focal length up to 10mm) to highlight the effect, it is better approach it from a high angle with short distance shooting to make the head and body exaggerated.
Elongated Legs Effect
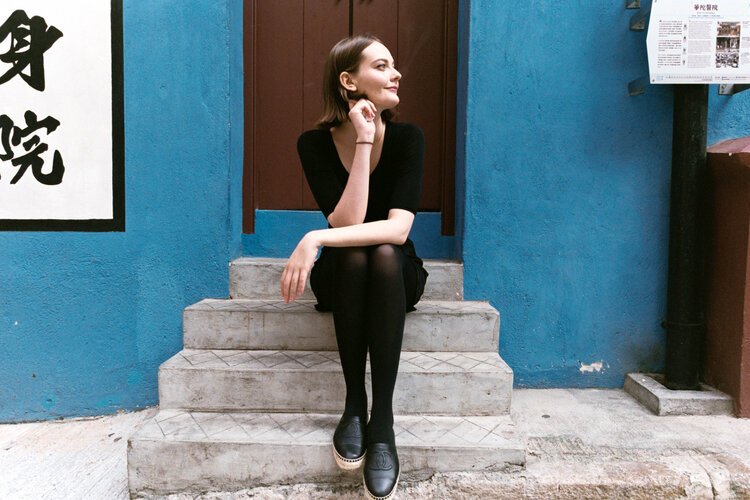
Because the barrel distortion will expand the surrounding objects of the photo, if you put the hands and feet of the person on the edge of the photo, the hands and feet will be elongated, and the skills of low-position shooting can make the model’s feet look more slender! Of course, in addition to creating special effects, you should place the face of the person in the middle when shooting this type of photo, so as not to be affected by distortion.
Avoid and correct lens distortion
Because lens distortion mostly occurs at the wide-angle (<18mm) or telephoto end (>250mm), we can use the middle focal length to shoot. Note that the more the scene is placed on the edge of the screen, the stronger the distortion effect, so if you don’t want to shoot the subject with lens distortion, you can place the subject in the middle of the photo.
If you find barrel or pincushion distortion after shooting, you can actually use software to correct it. The recommended software is the “Lens Correction” filter of Photoshop and the “Distortion Correction” tool. The correction procedure is also very simple and easy to understand. But note that after correcting the photo, you need to crop the photo again to maintain the proportions, so the photo distortion will actually be reduced

 My Account