 My Account
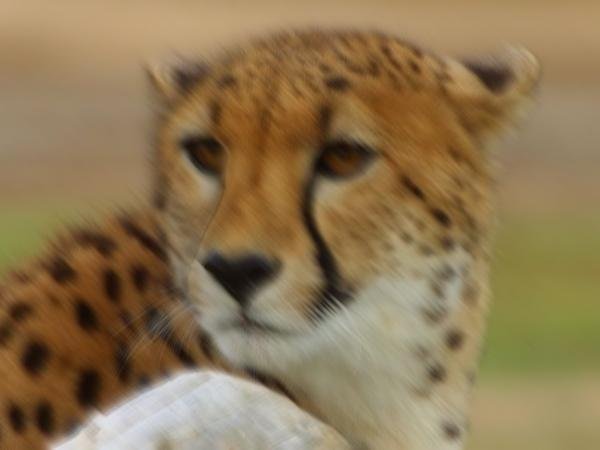
Many friends who are new to photography will also encounter blurry photos, especially at night or in a dark environment. The problem is particularly serious. What is the reason for the unclear photos? Is there any solution? Let us discuss one by one.
First of all, let us review the most basic knowledge of photography. If you have read my previous article, you should also know that the exposure of a photo depends on 3 elements-aperture (Aperture), Shutter speed and film sensitivity (ISO), the combination of these three elements will make up different exposure levels, and different settings should be used to achieve standard exposure in different environments.
The Causes of Blurry Photos
The first reason is the focus error, if you use a large aperture to make the blur background especially when you want the depth of field to be shallow. The second reason is that the shutter speed is too slow. This time I will focus on the most prone situation. The shutter is like a window. Its function is to control how much light enters the camera by the time of opening and closing. The longer the shutter opened, the more light will enter accordingly, and the brighter the photo will be. It’s Shutter Speed. If shooting in a low-light environment, the camera will extend the shutter opening time in order to make the correct exposure to allow more light to be projected on the film (or photosensitive element). So why does this slower shutter speed affect the sharpness of the photo?
The photographer’s own problem and inevitably, there will be vibrations during handheld shooting. Even the most healthy photographers can’t ensure that there will be no hand shakes. Because of this natural human structure, the slower the shutter, the more shaking will happen and more serious will be the blurry effect.
The problem with the object being photographed: the slower the shutter, the longer the exposure time. If the object being photographed moves during this exposure, the photo will leave blurry images making the photo look not clear enough. We often encountered this situation when shooting children or pets.
The Solution
1. Use flash
Use flash to increase the amount and intensity of light. One of the easiest examples is to use a flash. The light within the effective range of the flash suffices to illuminate the object, so the aperture does not have to be large, and the ISO value does not have to be high to keep the shutter speed at an appropriate value. Of course, the application of flashlight is relatively advanced knowledge. For beginners, let me write another article to discuss it.
2. Use Tripod
Avoid hand-held shooting, choose a stable tripod that allows you to use slow shutter speeds and keep the photos clear.
3. Adjust the aperture and ISO value
If the cause of the blur is because the shutter is too slow, then we just need to increase the shutter speed! Remember the exposure triangle (aperture, shutter speed, and ISO) that make the photo properly exposed? If you want to increase the shutter speed and have the correct exposure, then: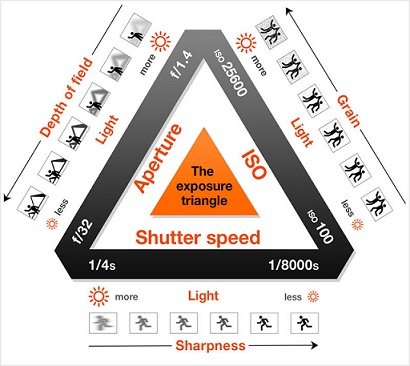
- We should enlarge the aperture to allow more light to enter at the same time;
- The sensitivity of the film (ISO) should be increased to make the film easier to absorb light;
- The above two situations are carried out at the same time.
But there is no free lunch in the world. The lens often limits the size of the aperture itself, and the increase of the aperture affects the depth of field. The higher the ISO value, the more severe the noise will be. The photo is not smooth, so the photographer should take these elements into consideration when adjusting.
How strong is the indoor lighting?
The human eye is a very delicate and powerful organ. Therefore, for indoor lighting such as incandescent lamps and fluorescent lamps, the human eyes will also feel dazzling. Hence you may think that the light is sufficient. But in fact, for the camera in terms of light may not be enough. So we cannot judge by the naked eye alone, we must know clearly from the camera’s light meter whether the shutter is too low that lead the photo becomes blurred.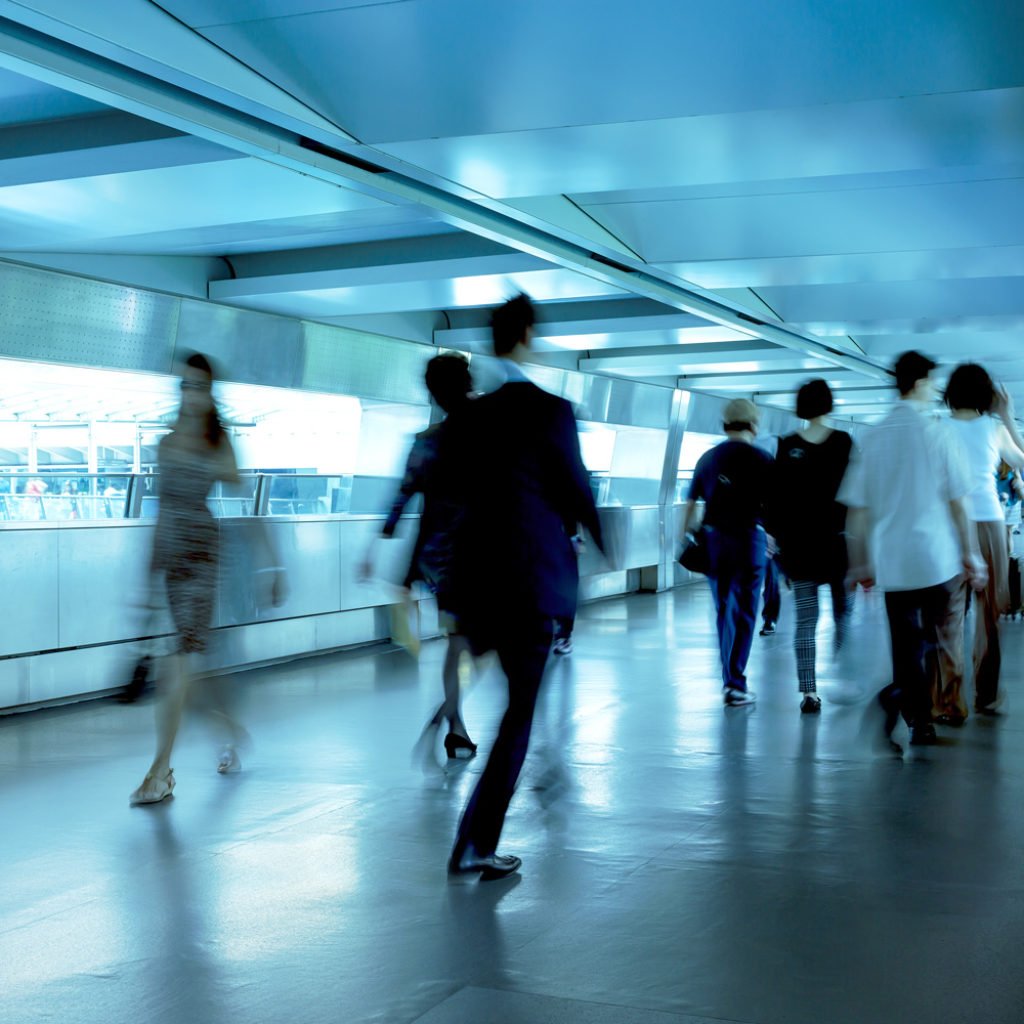
Safe Handheld Shutter Speed
The name “Safe Shutter Speed” may be unfamiliar to beginners. In fact, it means “what shutter value under a certain focal length will ensure that general hand shake will not affect the photo exposure.” The calculation method is very simple:
Safe Shutter Speed (second) = 1/ Focal Length (mm)
For example, if you are using a focal length of 50mm, then 1/50 second is a safe shutter speed. At this shutter speed or above, general hand shake will not affect the exposure; for example, if you are using a lens with a long focal length of 300mm, then your safety shutter must At least 1/300 second. But be aware that for normal people, the safe shutter speed should be not less than 1/30 second.
The Help of Vibration Reduction Technology
The current vibration reduction technology is very advanced which allows users to shoot at a speed 3-4 levels lower than the safe shutter speed, which is great for novice photographers or experienced photographers. So it is best to take this feature into consideration when buying a camera.
Written by Collin Smith @ remotes.works Holborn London


