Many friends who are new to photography may have heard the three terms “aperture, shutter and ISO sensitivity”, but it is also difficult to clearly understand their meaning and interaction. For example, your aperture setting is wrong (for example, using a large aperture). (Or small aperture), even if the shutter and ISO sensitivity are at the correct value, the effect of the photo will be unsatisfactory. The photo is often blurred or underexposed/overexposed. We have specially written a list for everyone. See clearly the effects and changes after setting the aperture, shutter and ISO at once. After reading this article, I hope you can use the mysterious “aperture, shutter and ISO” with confidence!
The Mystery of Aperture
Tips: The larger the aperture, the smaller the value (such as f/1.4), don’t make a mistake!
| Aperture | Large Aperture | Small Aperture |
| Value | (e) f / 1.4, f / 2.8, etc. | f / 16, f / 22,and so |
| Changes | Field of depth shallow The light amount more |
Field of depth deep The light amount less |
| Effect | Background is blur Focus on the subject and stand out. Suitable for shooting portraits or close-up |
All is clear Showing everything clear and detailed. Suitable for shooting landscape or documentary |
| Available light | Use it in a dim environment or when you want to highlight the subject | Commonly used when the light is sufficient or the whole photo needs to be clear |
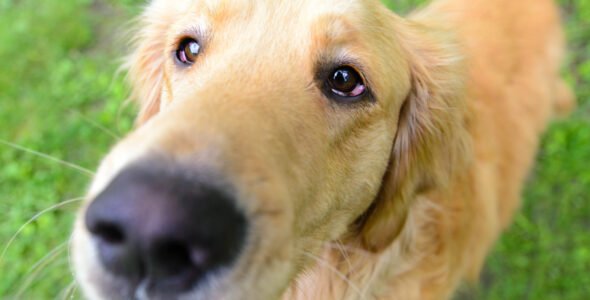
| Example |  |
 |
The Mystery of ISO
Tips: Use proper ISO sensitivity, don’t blindly pursue a low ISO
| ISO Sensitivity | Low ISO | High ISO |
| Value | ISO64, ISO100, etc. | ISO3200, ISO6400, etc |
| Changes | Reduced sensitivity to ambient light Avoid overexposure when the aperture is large or the shutter is slow | Sensitivity to ambient light is liftingA small aperture, Even the shutter speed high can have normally exposure |
| Effect | Very low signal noiseThe highest quality and clear photos | A lot of signal noiseThe edges of the main body of the photo begin to blur |
| Available Light | Commonly use with sufficient lightWhen using a tripod | Commonly use with When shooting aurora, starry sky, star trails |
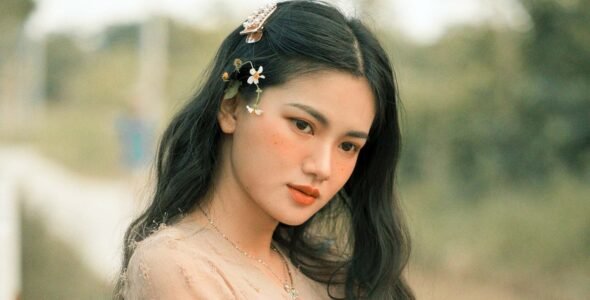
| Example | 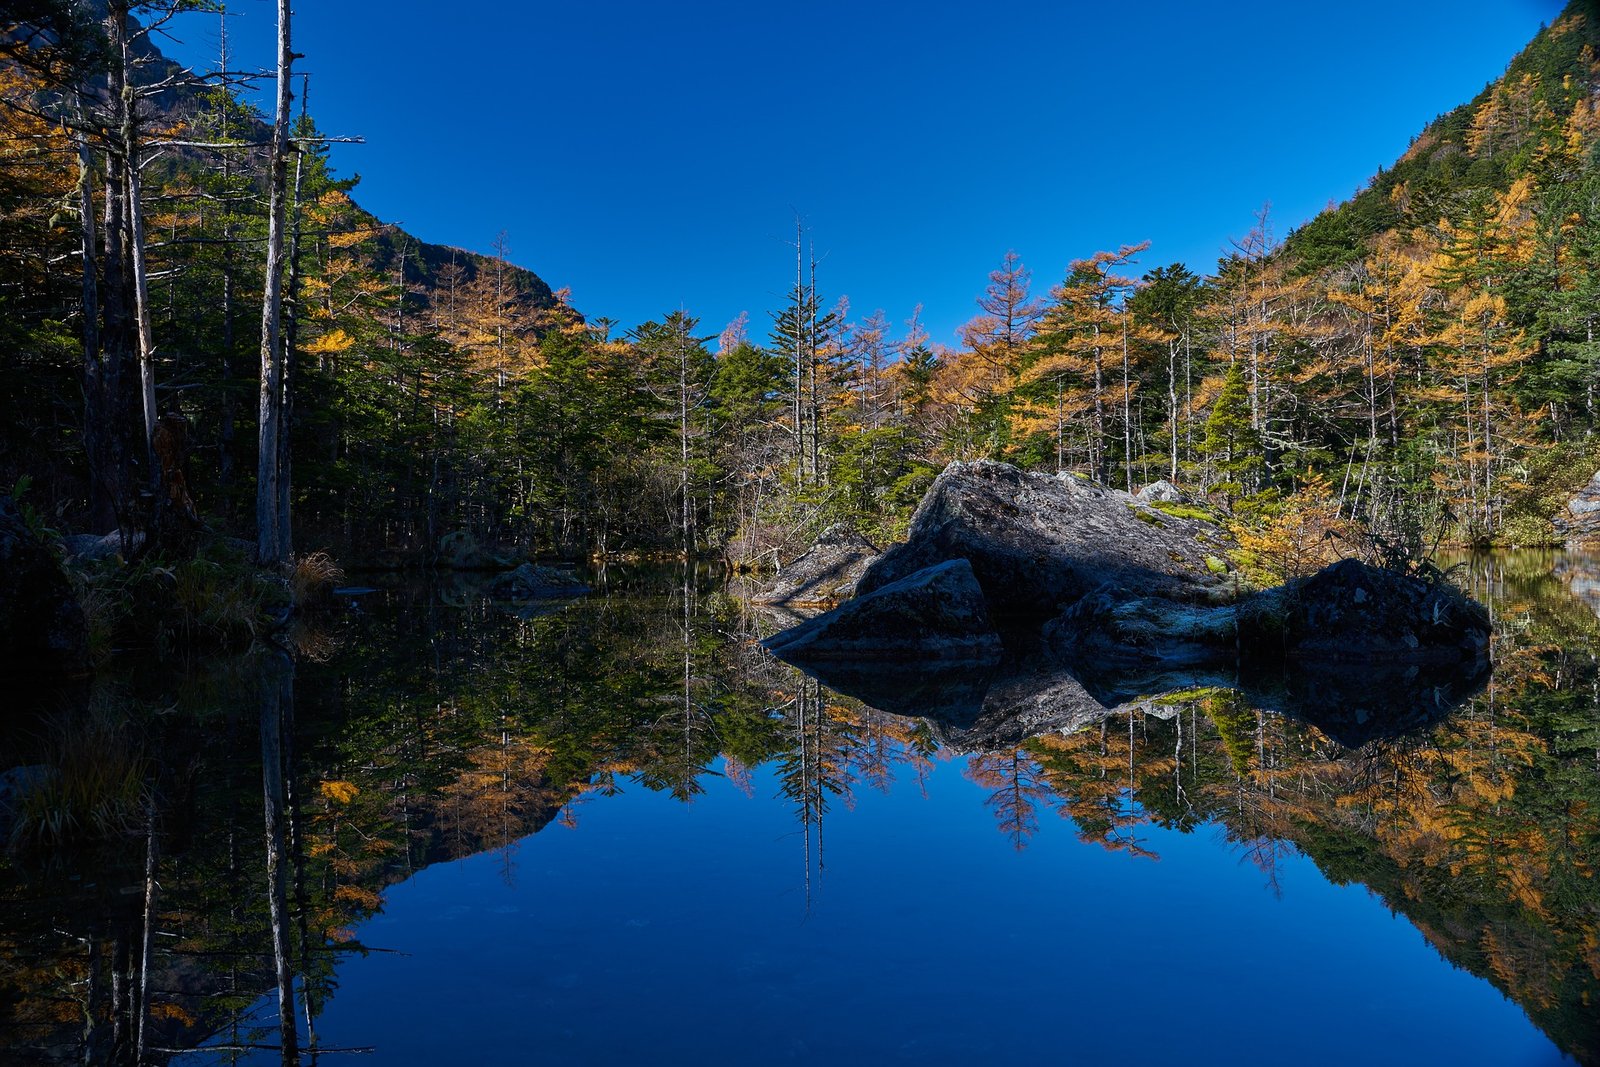 |
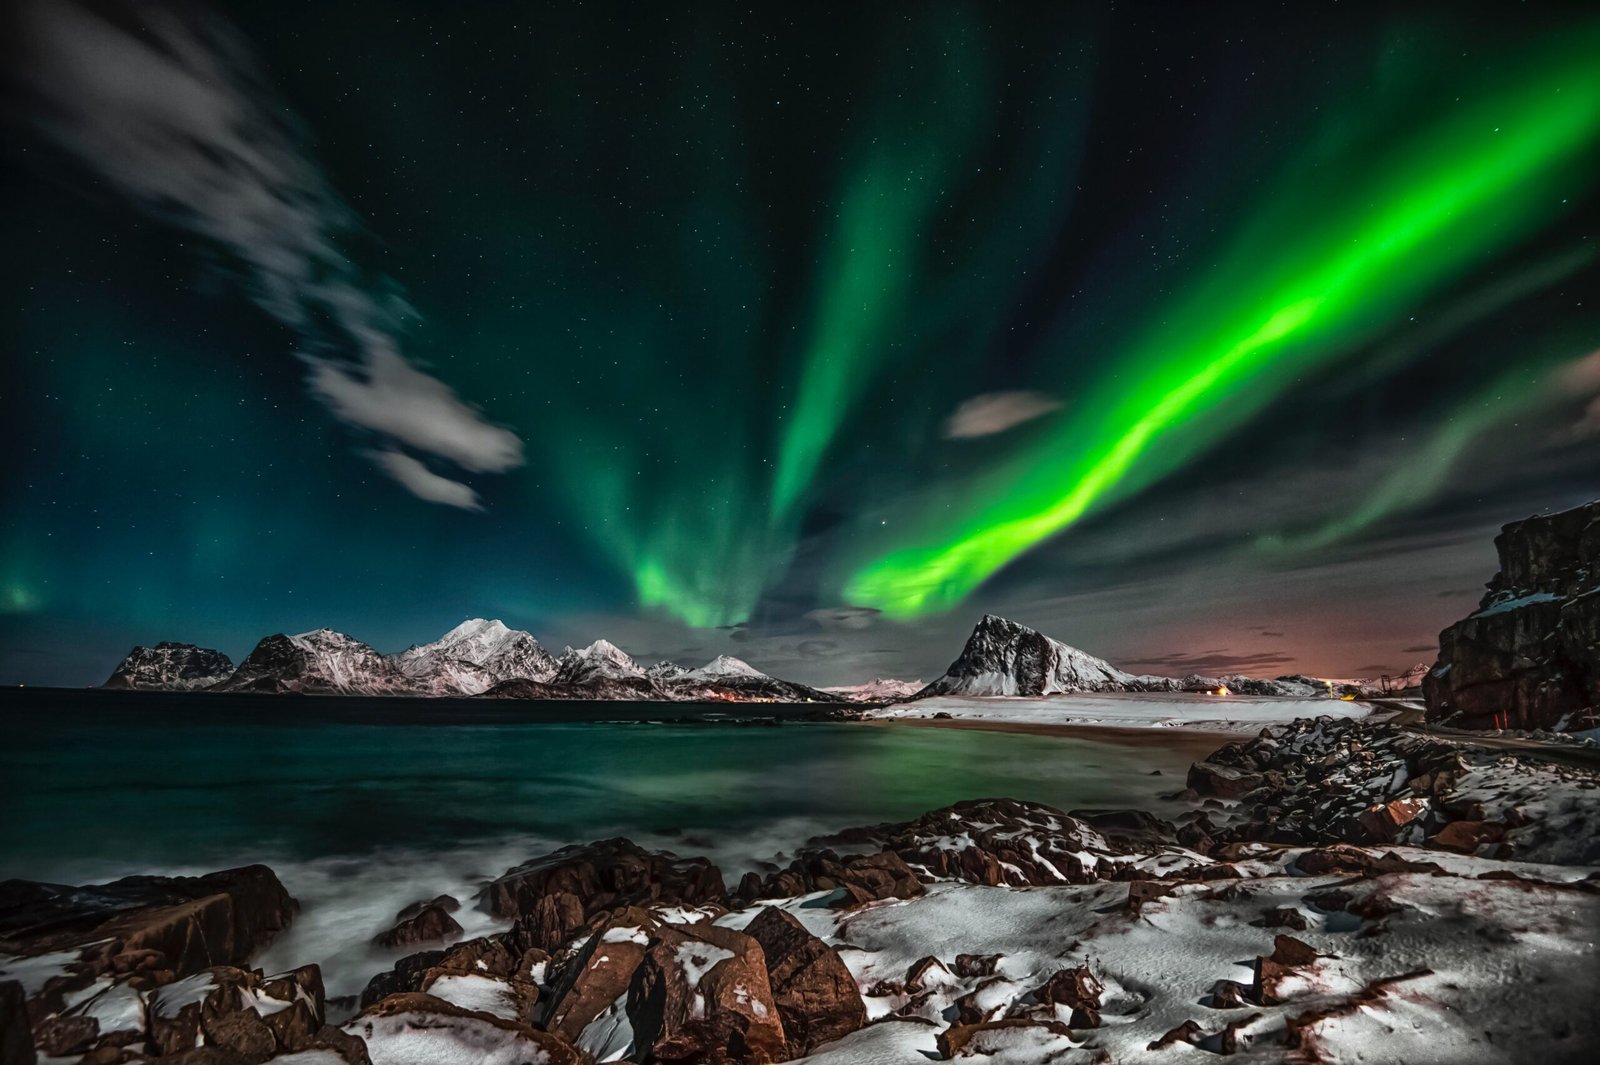 |
| Shutter Speed | Slow Shutter | Fast Shutter |
| Numerical Value | 30 seconds, 15 seconds, 1 second, etc. | 1/100 second, 1/500 second, 1/4000 second, etc. |
| Variations | Can absorb more ambient light Normal exposure when the aperture is small or the sensitivity is low |
Reduce the light entering the lens Avoid overexposure of photos when there is a lot of light on site |
| Effect | Can record the passage of time The main subject becomes blurred when moving If you don’t use a tripod, there will be shaking due to hands |
Can freeze instant moving object. Avoid blurry photos when held in hand |
| Available Light | Commonly used when there is insufficient light When shooting water, starry sky, night scenes |
Use when there is enough light. When shooting sports and flying birds |
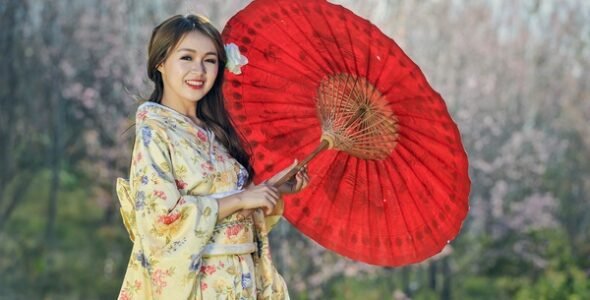
| Example | 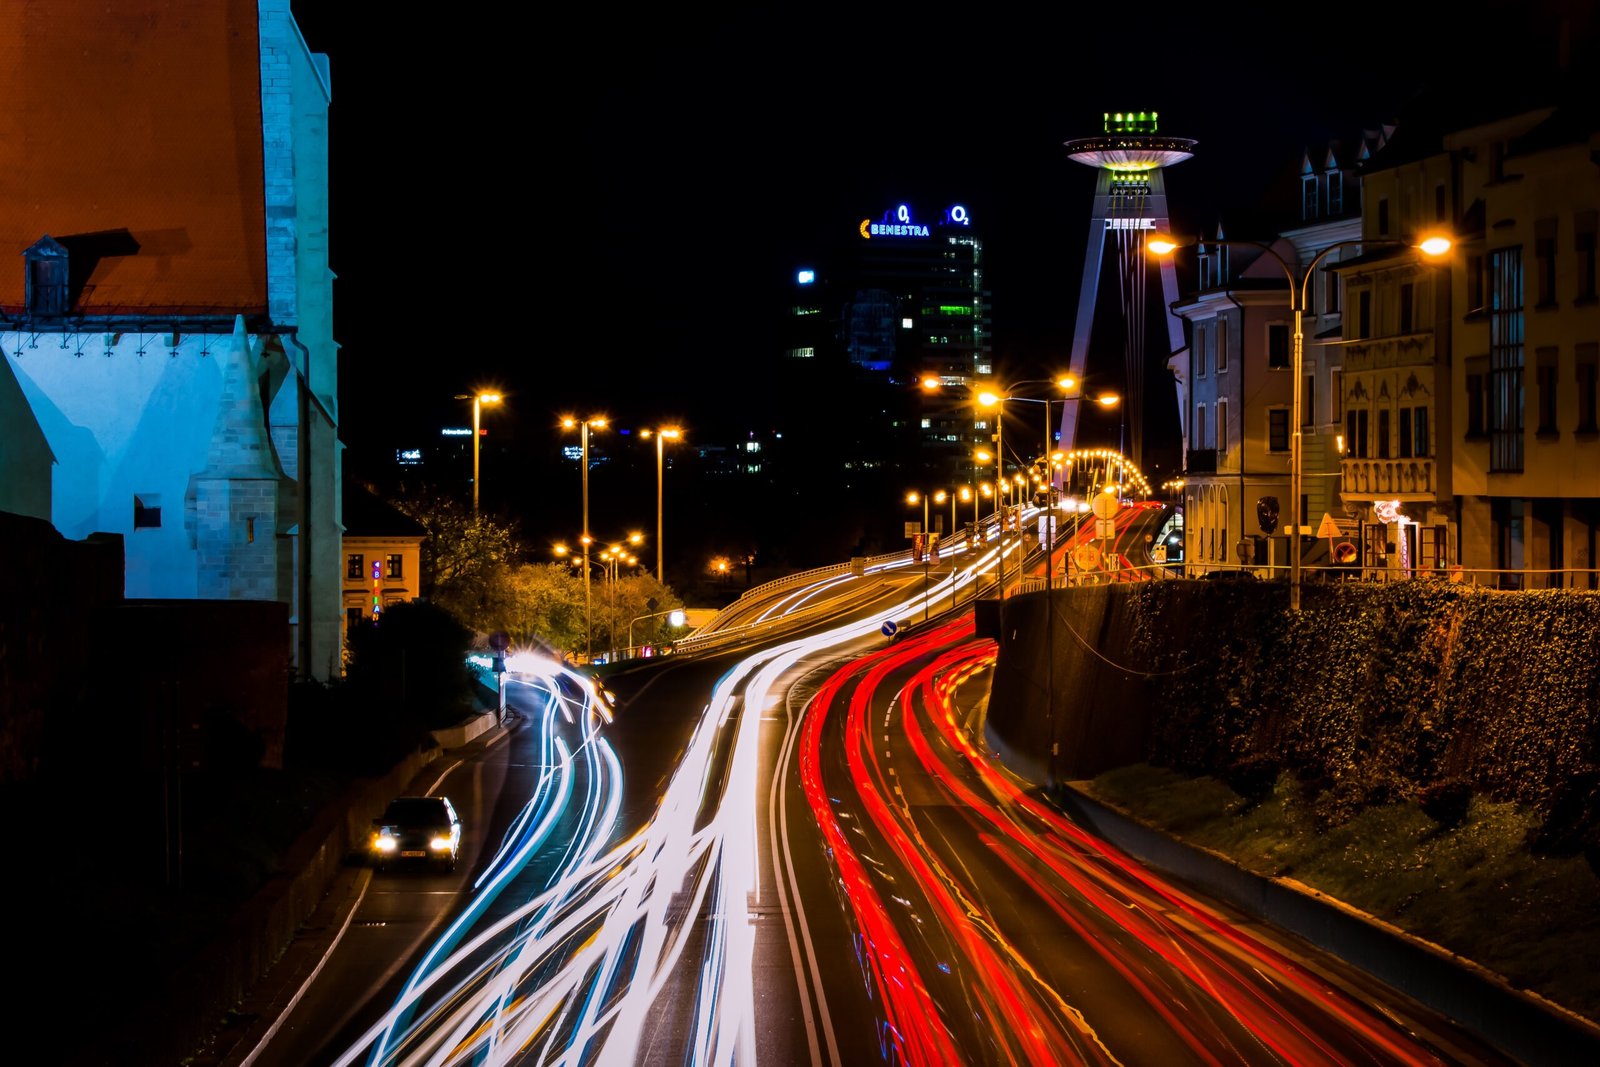 |
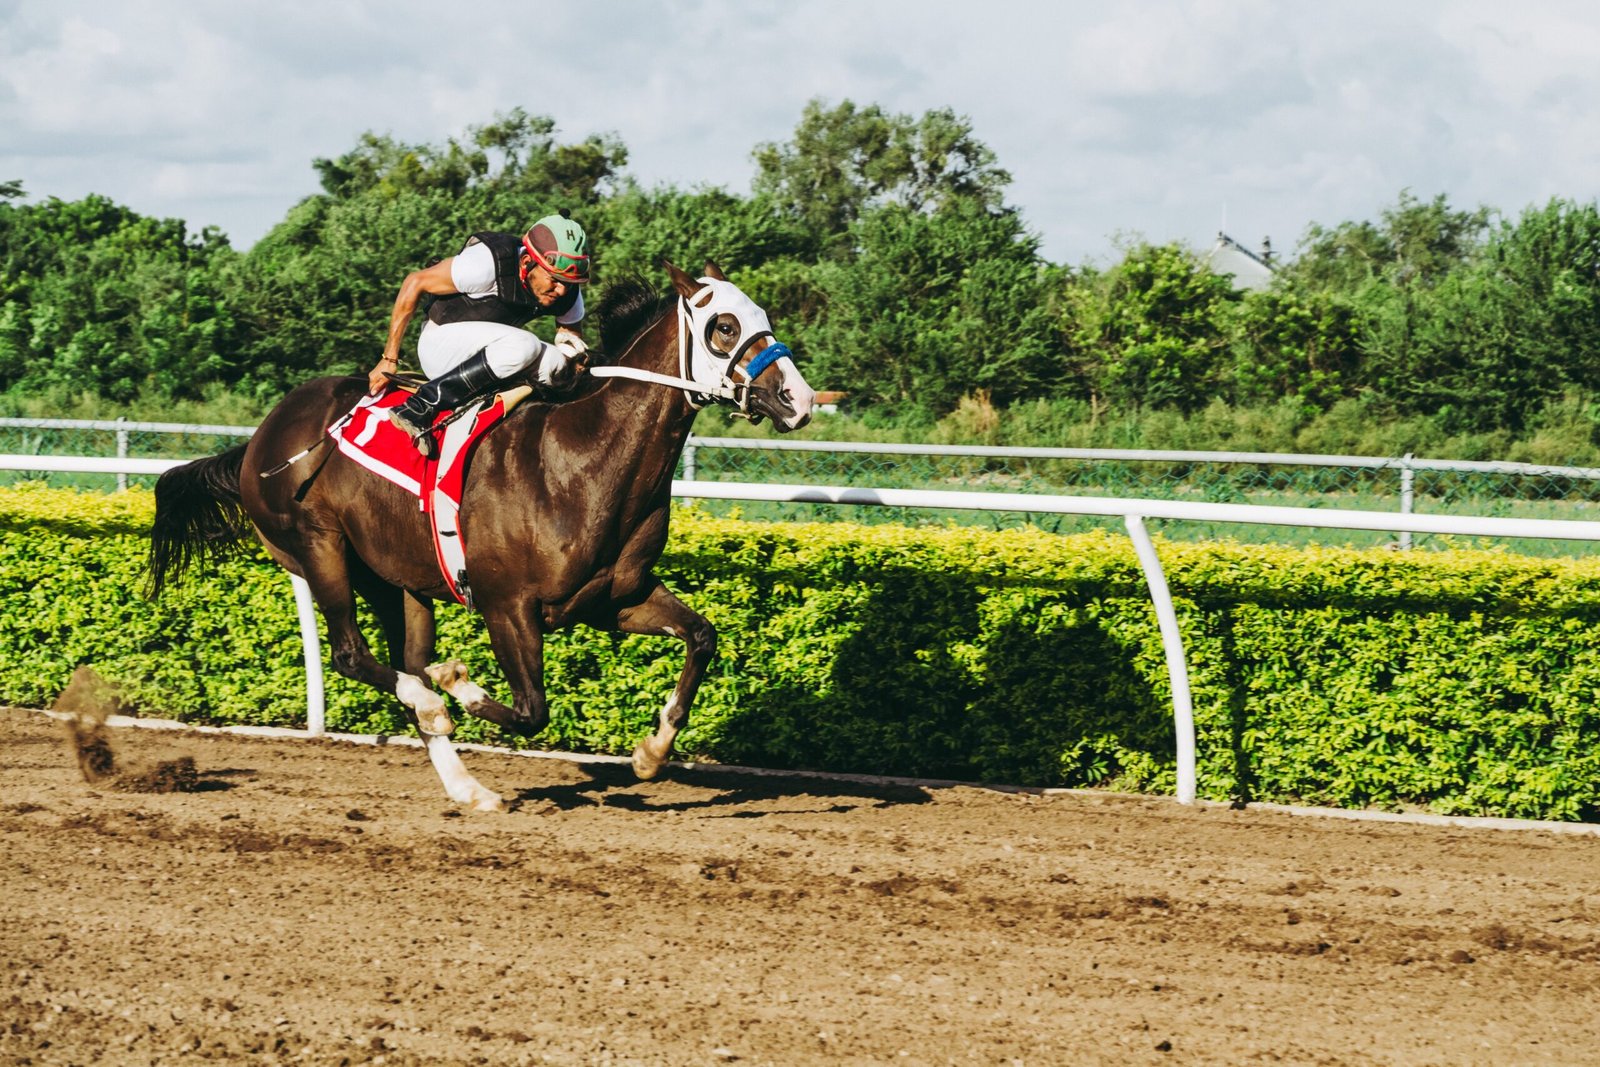 |
The Mystery of Shutter Speed
Tips: When checking the shutter, pay attention to whether there is a [”] label, which means “second” instead of “1/x second”
After reading the above information, should you have a concept of when to use “aperture, shutter and ISO”? If yes, carry on reading our next post
Written by Collin Smith @ remotes.works Holborn London

 My Account
Learn by experience. 1 minutes to learn the combination is impossible!
Agree
Lorem ipsum dolor sit amet, consectetur adipisicing elit, sed do eiusmod tempor incididunt ut labore et dolore magna aliqua. Lorem ipsum dolor sit amet, consectetur adipisicing elit, sed do eiusmod tempor incididunt ut labore et dolore magna aliqua.
ISO is completely digitized