 My Account
Just like many photographers, I have been studying photography for more than 10 years. Looking back on the past, I found that there are many mistakes that may occur when learning photography. Here are 4 common mistakes that novices make. Have you tried it?
- No Exposure Compensation (+/- EV)
Nowadays, digital cameras are more and more advanced, and their light metering is also very smart, but it can also make mistakes in some very light or very dark environments. Here are some examples:
The photo contains mainly sky or sun or may be over 50% , the camera may judge that it is overexposed. Hence we are suppose to add the +EV
The scene contains a lot of black object, for example a graduation ceremony that the people wear black graduation gown, the camera may judge that it is underexposed. Hence we are suppose to reduce the -EV
The scene contains mainly white objects with background, for example taking photos in the snow, the camera may judge that it is overexposed. Hence, we suppose to add the +EV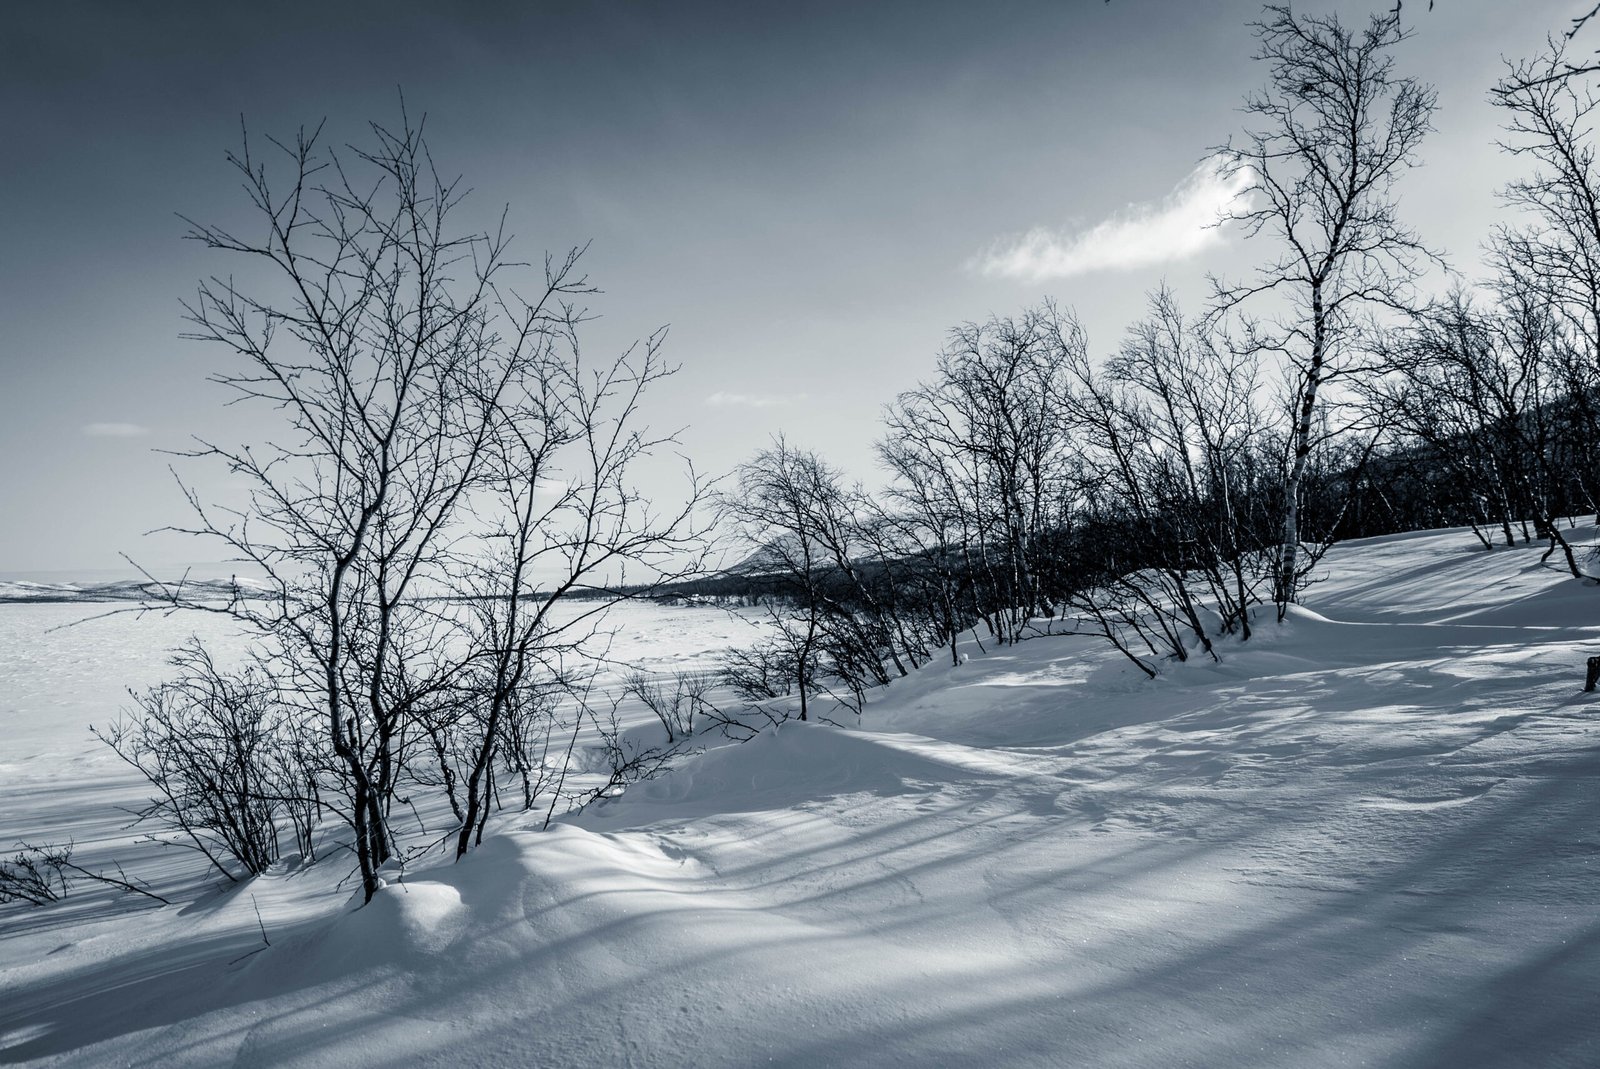
- Afraid of using high ISO
Like many students who are new to photography, I was afraid of using high ISO when I first learned photography, because I felt that there must be no noise in the photos! In fact, this is overwhelming. Now digital cameras are very powerful, and ISO signal noise control has been done very well. Generally, ISO1600 and ISO3200 signal noise are also acceptable. If you use a full-frame camera, it is inherently more advantageous, and ISO12800 is also Can be used frequently! Therefore, I would rather use a high ISO when shooting now, and don’t want to damage the photos such as hand shake. In fact, it is better to use RAW files to shoot and then use computer post-production software to reduce noise!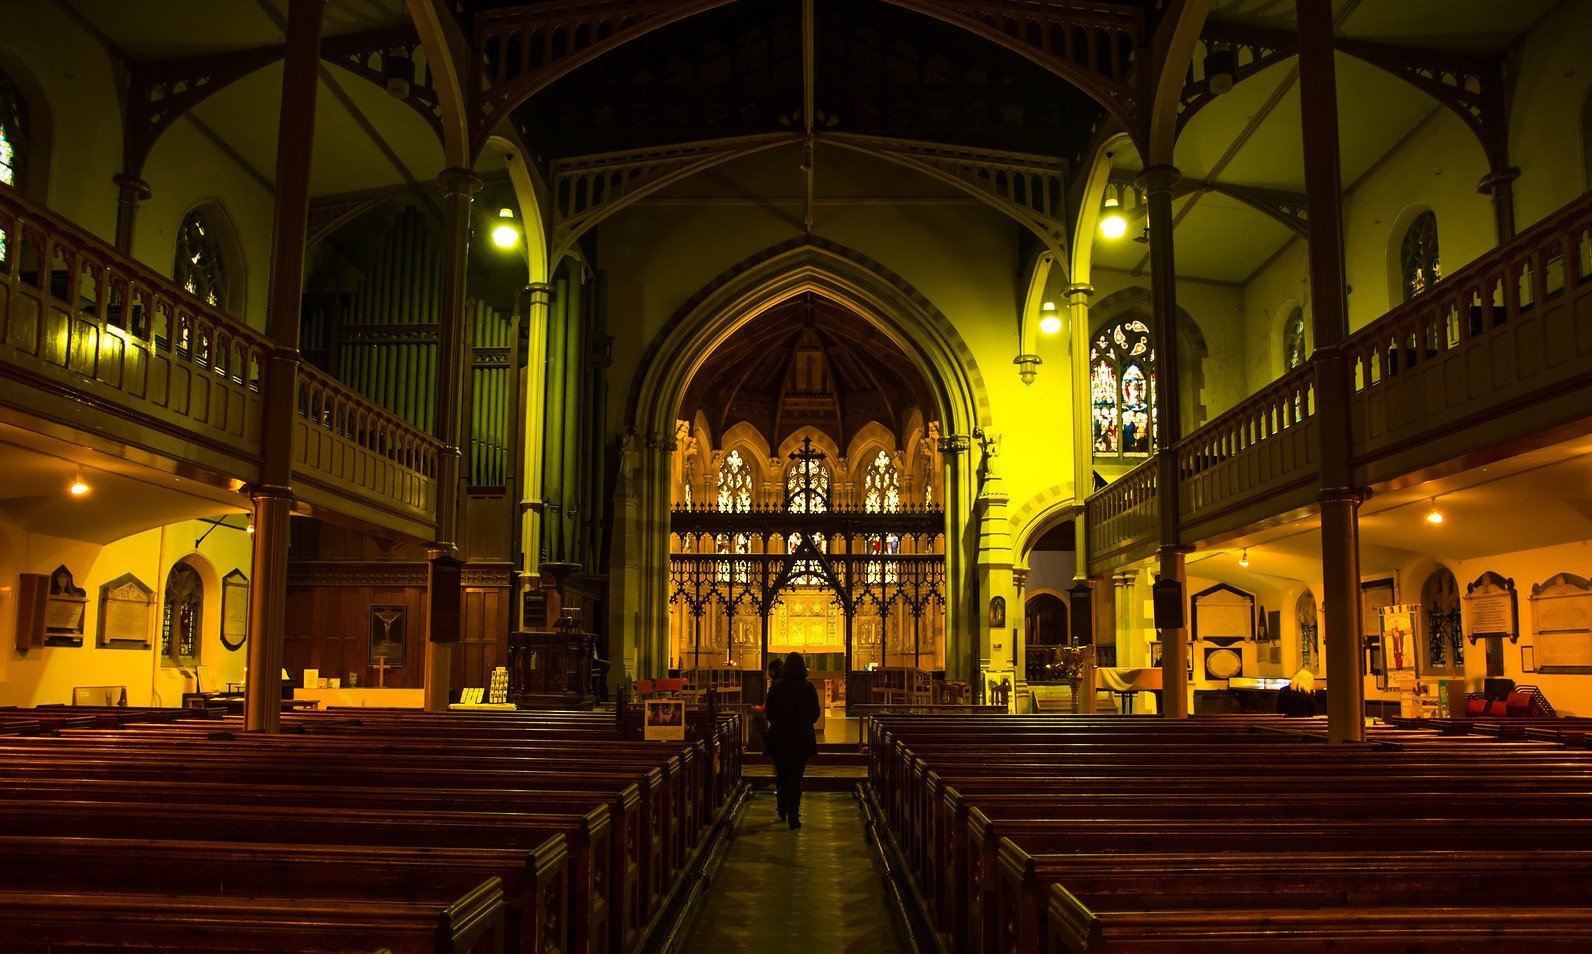
The above church view was using ISO 800 - Careless handling of strong lights
I often made this mistake before because I didn’t care much about the “highlight overflow” position in the photo. Usually these positions would appear white in the photo. There was no information at all, and they could not be restored by post-production. Therefore, these overflow positions are also called “highlight overflows.” Dead white”. In order to avoid these situations, we must carefully handle the highlights such as the sun, sky, lights, etc., do not overexpose and make them “dead white”, otherwise these positions will be very eye-catching and destroy the beauty of the entire photo.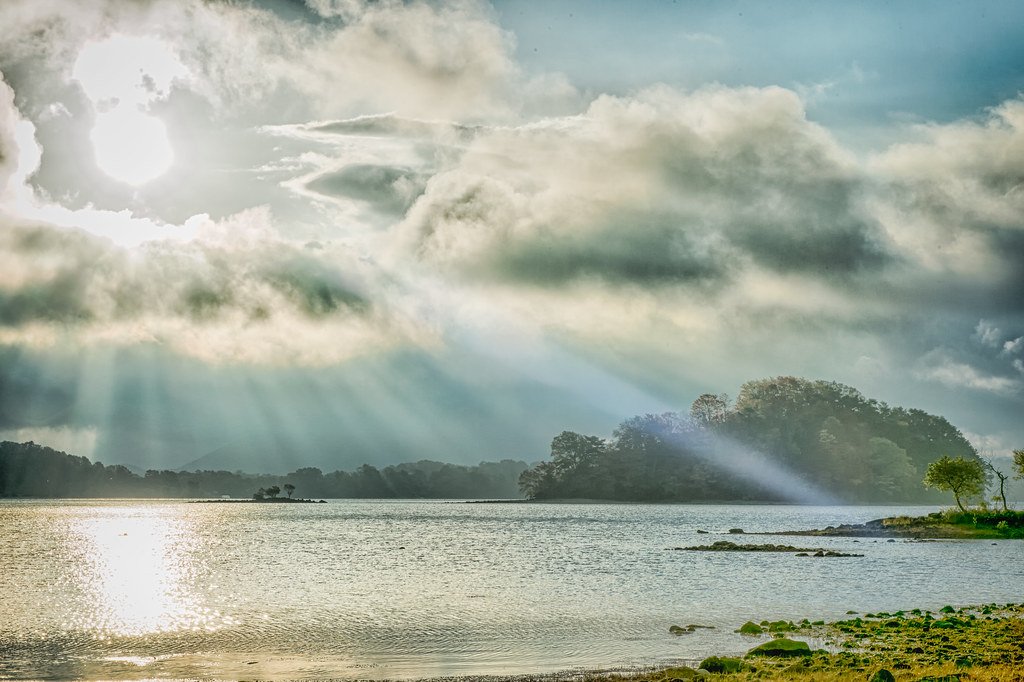
- Ignore the importance of depth of field
In the past, taking pictures was mainly based on keeping record, especially when I was traveling, I often only took pictures to show where I have been. There was no sense of art. Of course, I don’t know what depth of field is. In fact, the control of depth of field is a topic that novices must learn. Deep depth of field is used to make the whole photo clear and suitable for shooting large scenes; while shallow depth of field can blur the background and highlight the subject. It is often used in portrait photography or close-up works.
Written by Collin Smith @ remotes.works Holborn London


Nowadays, digital cameras are more and more […])